Killing Intel Management Engine with the same force as NSA
Published on
You, dear reader, may know of a little thing called the Intel Management Engine, or Intel ME, or IME for short. It’s basically a backdoor to your computer that you can’t disable. Sounds like some conspiracy theory stuff, but the ME actually has some real merit. You might also know of things like iDRAC, iLO, BMC, or other “out-of-band management” tools built for server hardware that let you remotely cycle power, get a console over IP, and all kinds of other goodies. The Intel ME is basically an out-of-band controller for your desktop, that you can’t shut off. The ME is so baked into your computer that if you tried really hard to remove all of the ME’s firmware, your computer would just stop working entirely. And this includes custom-built computers, too!
Obviously this is a big security concern, and a lot of companies that process sensitive data would agree with you. That’s why you can buy laptops and desktops with the ME disabled (Dell puts a little yellow sticker with the number “3” and the text “ME Disabled” on it to show this). However this doesn’t really disable the ME. It just reduces a lot of the out-of-band management features an IT admin would want.
The U.S. government decided this wasn’t enough, so they made Intel give them a custom option: HAP, or High Assurance Platform. This kills the ME about as much as you can without making the system completely useless (as the ME controls different aspects of your system such as POST, power and sleep). Secretive government agencies like CIA and NSA love this, as when processing TS information they want as many protections as possible. Since this is an exclusive option, surely you’d need to be one of the feds to enable it, right?
Thankfully not, as some very talented security researchers were able to figure out how us mere mortals can enable higher security. Unfortunately, in my case it required some SMD rework directly on the laptop motherboard, but it wasn’t too difficult. Interested? Let’s go on an adventure!
Torching the chip off
Enter today’s victim: a Dell 7424 Rugged Extreme. This is my “field work” laptop that I use for radio, A/V, and industrial applications where I need something with hard Ethernet, serial, or GPS. Thankfully, a coworker had already done this on their own 7424 (You know who you are! You’re a G!) and offered me a few pointers on the process.
Step one was to disassemble the laptop (making sure to remove both primary batteries as well as the RTC battery) and locate the main BIOS chip. I had this already figured out as my coworker told me where it was.
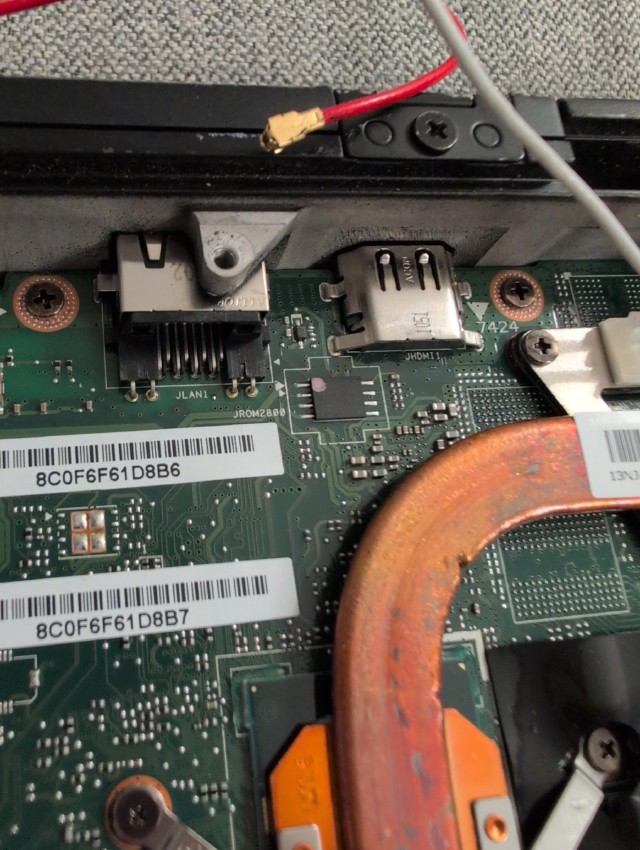
Next, I used my hot air gun set to about 150C to warm up the area surrounding the BIOS chip to prepare it for reflow. This took quite a while, as the CPU heatsink/heatpipe was right next to where I was working and wicked all of the heat away. Once I decided it was warm enough by some completely arbitrary criteria in my head amounting to “vibes”, I cranked the heat up to about 350C and went in circles around the flash chip until I saw the solder melt, then removed it with my tweezers.
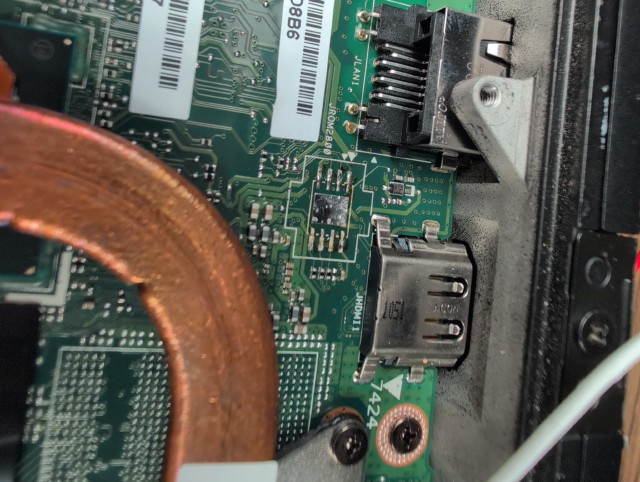
(Sidenote: the gap in quality between Amazon-quality tweezers and good tweezers is huge, but the cost difference is pretty minimal. If you do any kind of electronics work, I seriously implore you to get a good pair of hardened/stainless tweezers. I have a pair that are sharp enough and hard enough to pierce skin if you’re not careful, and have never bent even when using them like pliers. They were about $5. Seriously! The cost isn’t much, and the quality of life improvement was huge.)
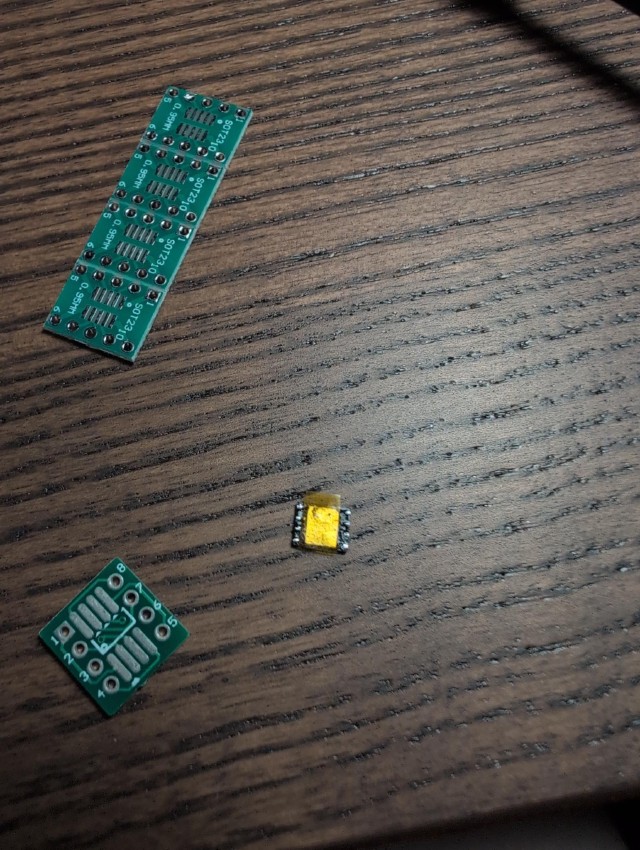
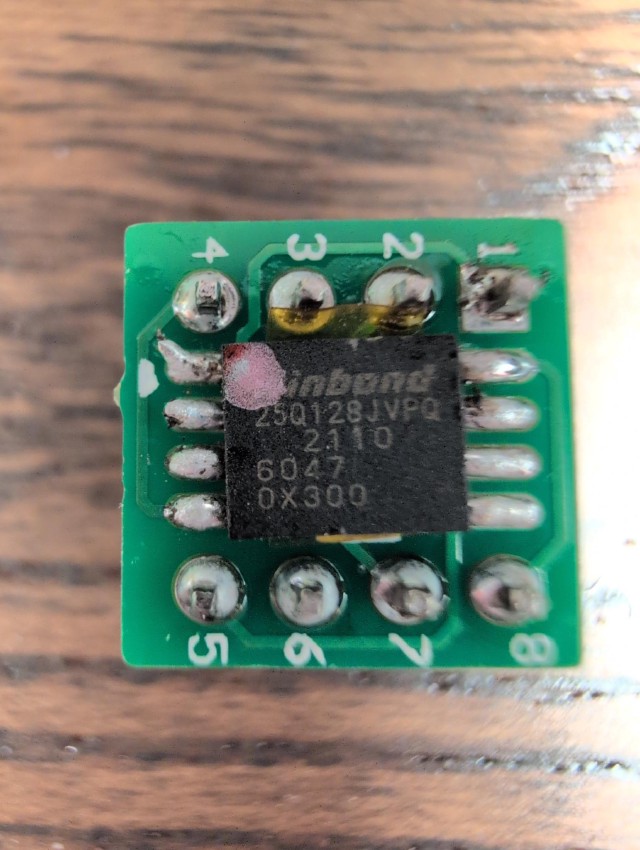
Once the chip was removed, the next step was to load it into a breakout board and connect it to my flash programmer. Now there’s a new problem: the chip here is an 8-WSON, which has teeny tiny pads on the ends and a giant inner thermal pad. Since I was doing this in a manic haze at midnight on a Thursday, I didn’t have the foresight to have acquired a proper 8-WSON breakout board, so I used the closest thing I had on hand, which was an 8-SOIC breakout. But now the thermal pad in the middle of the chip overlaps with the pads on the breakout PCB and short them, so I was kinda fsck’ed. Until I remembered my best friend: Kapton tape! I used some Kapton tape and small suture scissors I took from when I had my leg cut open many months ago (don’t worry, they were going to toss them anyways since they are single-use) to cut a square of Kapton tape to the size of the thermal pad in the middle to act as insulation, which should hold up to the high heat of reflow as well.
Setting HAP
Once loaded on the breakout board, I soldered some headers and connected it to my flash programmer and dumped the contents out. I then used ifdtool from the Fedora Terra repo to modify the BIOS dump to set the HAP bit. All I had to do was:
ifdtool -p sklkbl -M 1 bios.bin
Breaking it down, -p sklkbl sets the platform to SKyLake/KaByLake, and -M 1 sets the HAP bit to enabled. That’s it! The utility produced a bios.bin.new which literally has one diff: changing a single 0x10 to 0x11. I then took the new binary and blew it back into the flash chip.
Re-attaching and testing
I torched the flash off of the breakout board, removed the Kapton tape, and re-attached it to the motherboard. I excitedly re-attached the dock connector and all of the coax wires, plugged in the battery, and hit the power button. I was met with absolutely no response from the machine. No power light, no beeping, not even a light when I plug it in to indicate it’s charging. If you’re eagle eyed you may be able to see the issue in this picture:
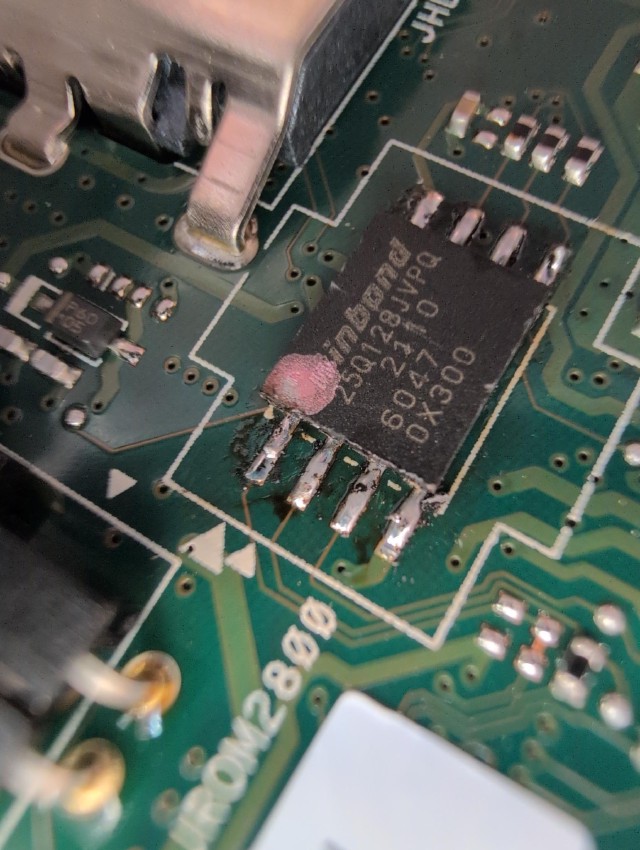
No? Well I didn’t either. The BIOS chip is offset a millimeter or two, which was enough for some of the pins to not make contact with the landing pads. Curse you, 8-WSON! After some reflowing and gentle nudges from my tweezers I was able to get the chip to snap back into place. After letting everything cool down, I plugged the batteries back in, pressed the power button, and was met with a couple resets and then finally POST! I booted into a live Fedora image and installed the intelmetools utility (again from Terra) and ran a ME status dump to make sure the ME was really dead. And it seemed to be:
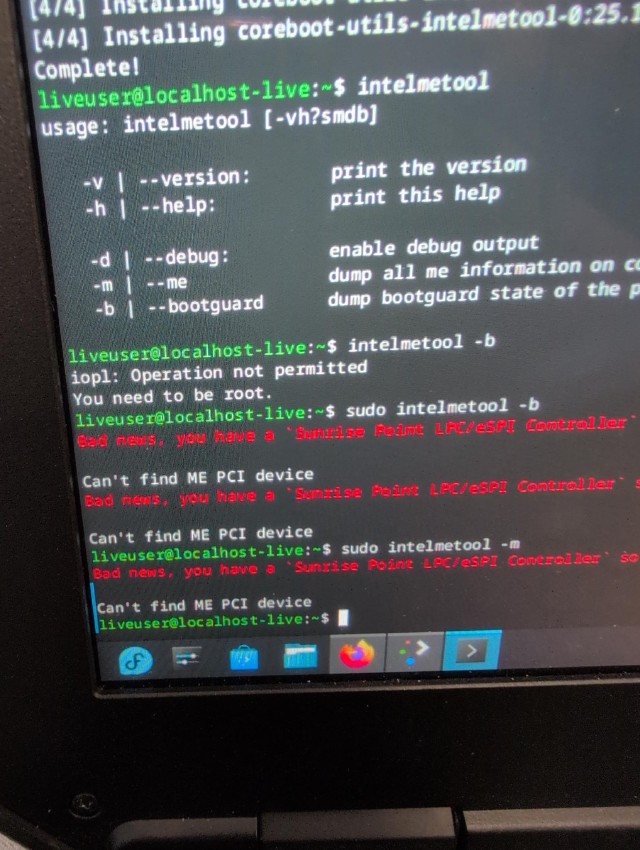
So I think we can call this one done. Now to just figure this out for AMD…