CradlePurple, or: how I made my Cradlepoint purple
Published on
In my quest to make custom firmware for Cradlepoint devices, I decided that I was not satisfied only customizing the firmware. I needed to customize the hardware too! Thus began my quest to paint a Cradlepoint.
Danger Will Robinson! Sanding and painting can release hazardous airborne particles. Do not try this at home without proper training and PPE.
Let’s wind the clock back to about August of 2025. I had the bright idea to paint one, and I wanted to make it bright blue. I knew in order for it to look good, I had to put in a lot of prep work. The plan was vaguely:
- Strip the PCBs/external connectors away
- Carefully remove labels to save for reuse
- Strip existing paint
- Lay down aluminum spray paint primer
- Lay down blue enamel top coat
- Re-assemble
- Profit
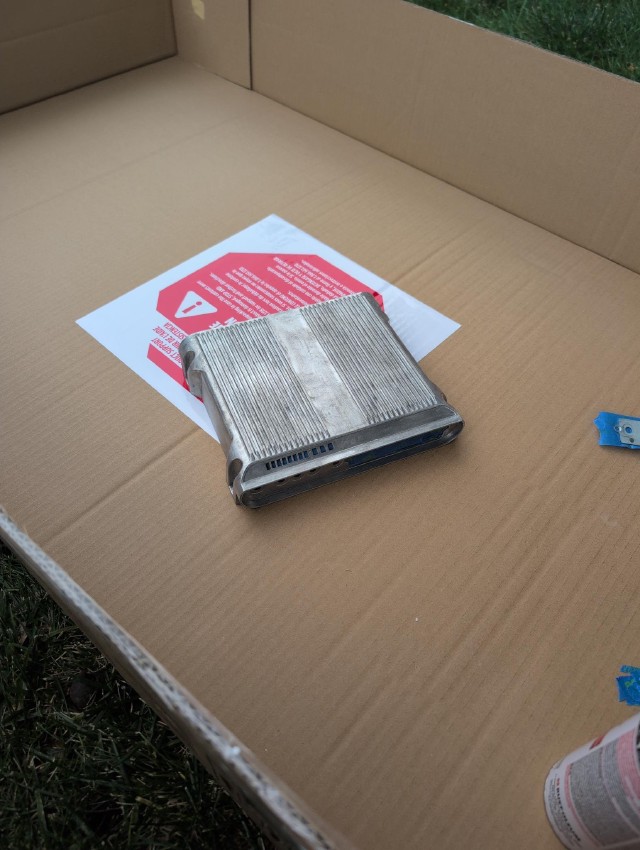
I started the journey with an IBR1700 I had. The first order of business was stripping the unit down to its bare shell. This was pretty simple, as I had taken the unit apart a few times, and more or less just involved removing a couple dozen screws and pulling the PCBs out carefully.
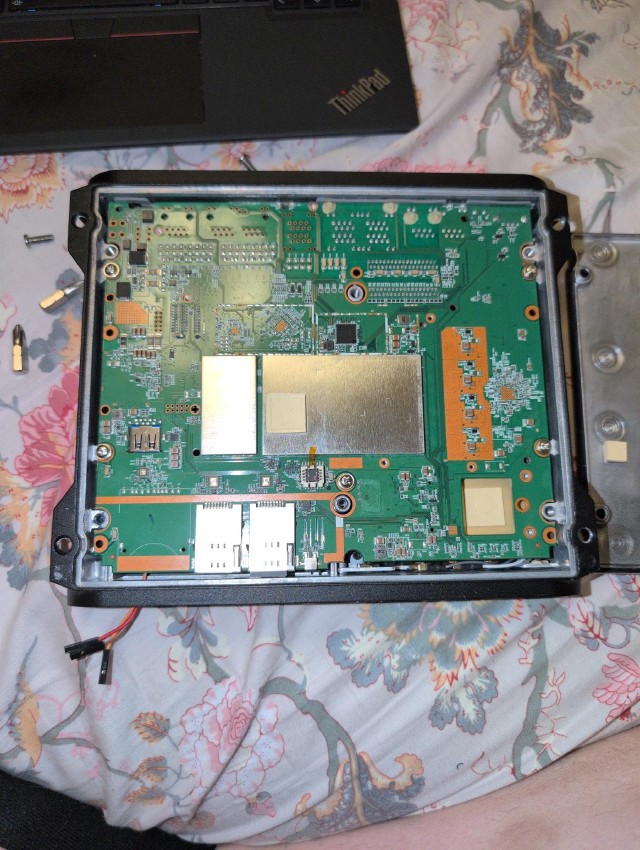
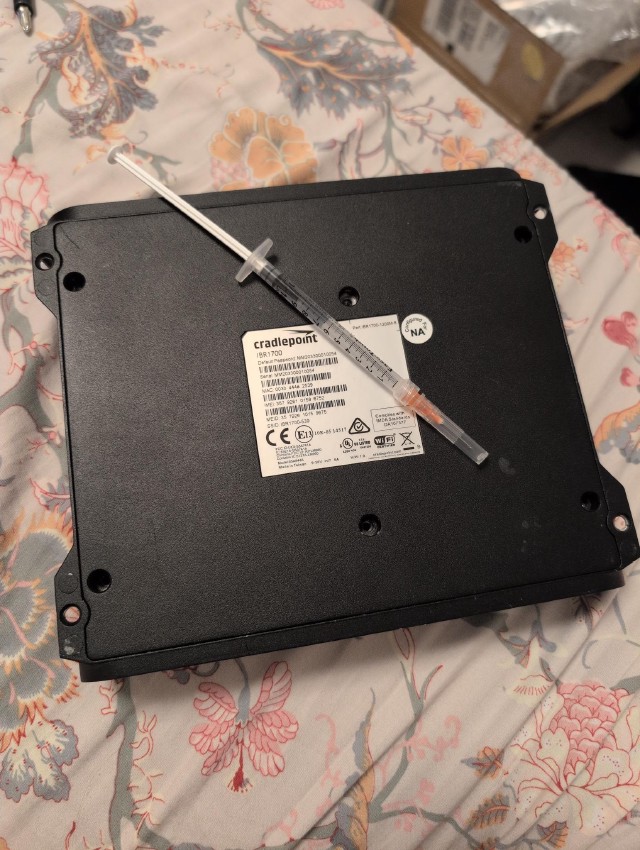
Now that I had the PCBs out, I needed to remove everything else. I took out the lightpipe, which was just a few screws, and all of the external antenna connectors. Then I had the labels to remove. I wanted to make sure to remove them all in one piece very carefully, so that I could re-apply them to the new unit. I used a spare syringe with a 25ga needle and drew up some 91% isopropyl alcohol to precisely apply to the labels. Alcohol will temporarily weaken the adhesive, and you can carefully pick the label up as you shoot alcohol in it. I used the needle to wet a corner of the label, then carefully used the bevel of the needle to reach under the sticker and shoot more alcohol in underneath it. I repeated this for every sticker on the unit.
Once all of the stickers were removed, it was time to strip the old paint off. I used Citristrip for this which worked very well - the goopy consistency was really good for getting in the fins and crevices of the unit. I left it for about half a day and all the paint had loosened up and I could just wipe it away with a paper towel for the most part. This process was probably the most painful, as any areas I missed had to be re-treated and I had to wait overnight or for most of the day before being able to attack the paint.

Next was time to paint. I used a tub of acetone to remove any oil and weaken whatever Citristrip was dried on. Once I was satisfied with how clean it was, I took it out to spray. It was my first time using a rattlecan spray paint, and I way overdid it - the surface finish was pretty decent, but it would not cure even after a week no matter what I did. I decided to cut my losses and strip the paint off and redo it all.
And this is where the story pauses. I broke my leg, winter came which hampered my ability to spray paint, then moved 3 states away. This all put a damper on completing the project. However, there is a makerspace where I moved that has a whole sandblast and powdercoat rig. I took this as a sign to finish off the project.
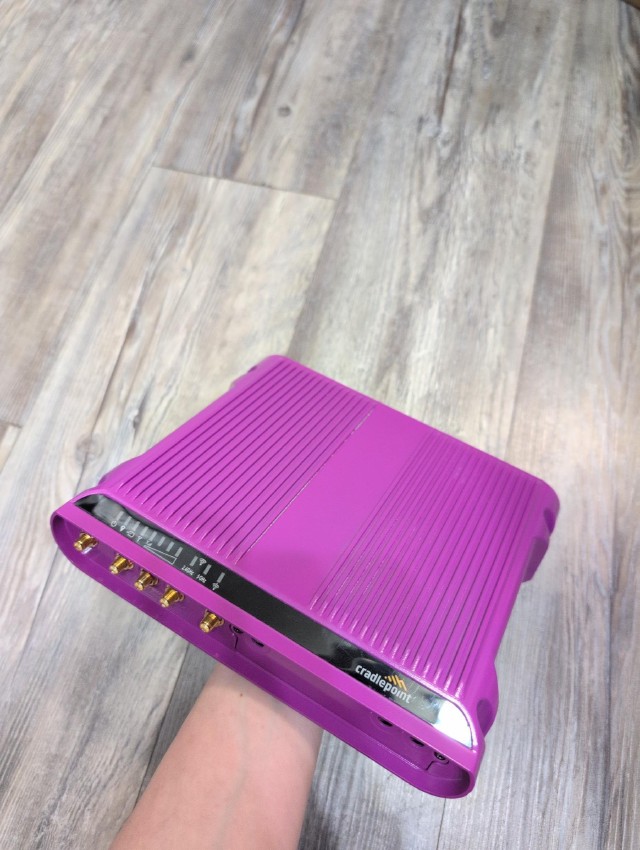
After receiving training for how to safely use the equipment, I brought my Cradlepoint shell to paint. I had loaded it into the sandblaster to clean up whatever residual gunk has built up on it as well as getting the surface ready to powdercoat. I just used the aluminum oxide media that was already loaded in there since I didn’t really know what else to use. Once the surface of all of the pieces was nice and matte, I took them to the painting booth to paint. The space had some communal powder, and there was a giant bag of purple that I chose for a first go.
I made sure to mask off most of the insides of the shell as they are used as a heatsink, and I wanted to make sure that paint wouldn’t get in the way of the thermal transfer. I used Kapton tape (polyimide) since whatever I used to mask would need to withstand the heat of the oven when I went to bake the parts. After masking I layered a bunch of tape on the inside of the Cradlepoint shell to keep it bare aluminum.
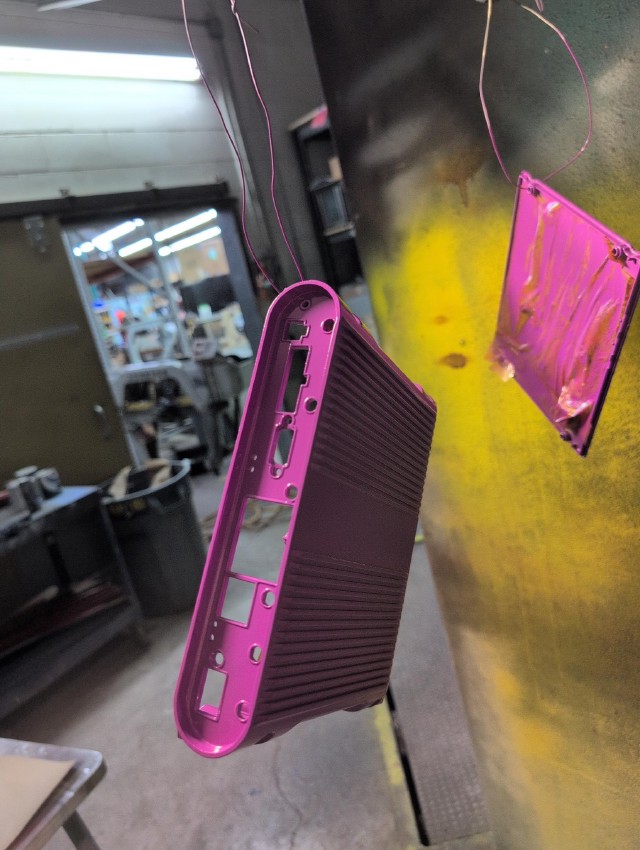
Next I applied the powder. I made a few mistakes here since I had never powdercoated before, the first of which is not using sacrificial screws. Since the powder clings to everything, it will get stuck in your threaded holes, and you will need to either chase the threads later or just turn a screw in with a lot of force to knock the powder off. I also didn’t have a great ground on the pieces, so every now and again enough powder would build up on my ground wire to prevent the piece from getting charged. I would periodically bring the tip of the powdercoating gun close to the piece to hold an arc for a second which would blast the powder out of the way of whatever ground it was connected to.
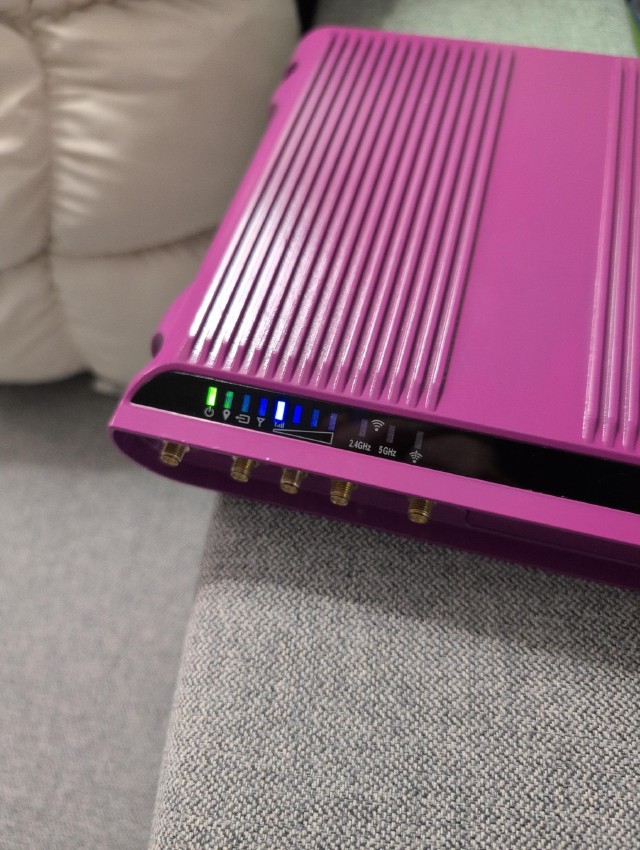
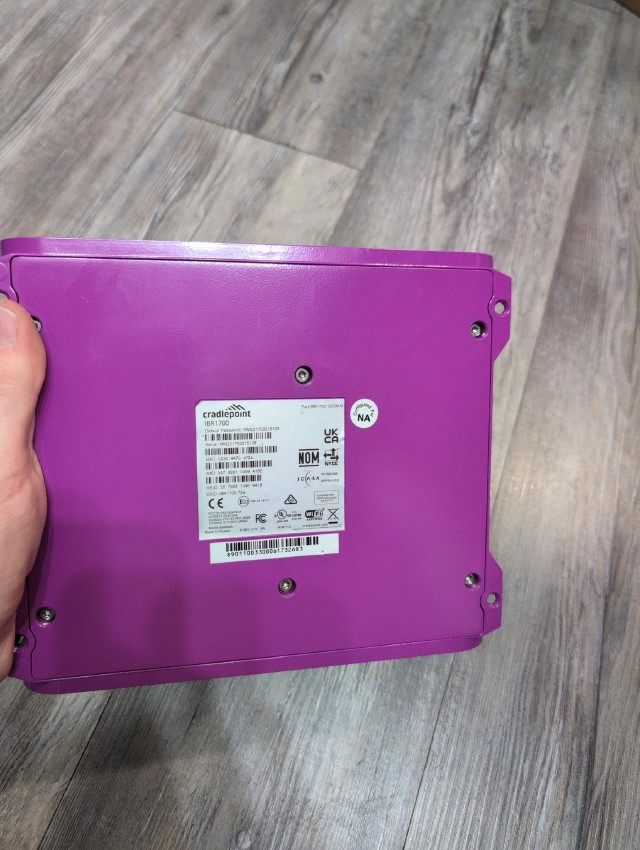
Once the pieces were coated I carefully moved them to the oven, which I had begun preheating when I started to apply the powder. I followed the suggested curing time of 450F for 10 minutes, then if the pieces are glossy turn down to 400F for 20 minutes. Once the timer was up, I shut off the oven and removed the pieces to cool down. Once they were cold enough to handle, I was amazed by how well the finish turned out. It looked near factory (except for the spots I missed because it was my first time). I removed the Kapton tape and then re-assembled the unit.
It looks really good! There are some spots I missed around the fins, but for a first powdercoat it came out really well, I think.
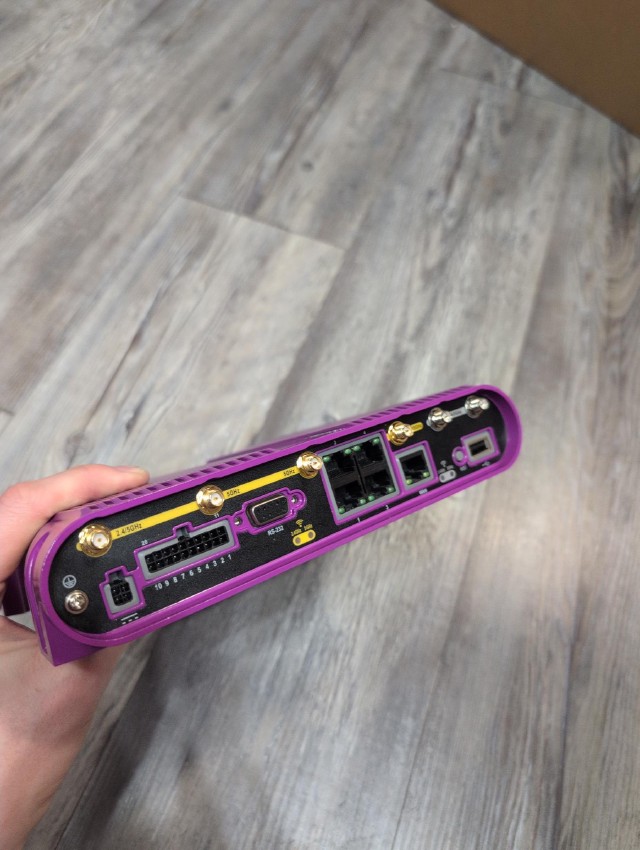
I definitely plan on taking the lessons learned here and painting more Cradlepoint shells. I already have a few IBR900s and an R1900 I have stripped down and in various stages of getting prepped for paint for friends. Overall despite the long time this project has existed, I’m really happy with how it turned out!
And yes, it does still work: